

12.07.2012
Stockings are Hung
I have our traditional Christmas stuff in our basement family room. The kids got to decorate the tree and help me put up the decor. Is it really sad that all the decor I've been using for the past 8 years fits on one wall shelf and tree? Oh well the kids love having their own to do. I wanted to share how I hung my stockings:
 In years past I used my board with hooks to hang all our stockings, but this year that hook thingy is up in the kitchen with aprons on it. I really didn't want to buy 5 stocking hangers because that can add up quick...so I bought 2, at Walmart for $5 and then I painted a $2 dowel to match and hung all the stockings that way. I saw the idea on Pinterest here and here. You could use a curtain rod or painted pvc pipe too...


12.06.2012
A Very Vintage Christmas

I really wanted a vintage Christmas theme for my family room this year, and it all started with this Pin Board.

This silver beauty came from my in-laws. It's a vintage aluminum tree! I was so excited when they passed it on to me. I purchased the old fashioned pastel ornaments from Walmart - its 101ornaments for $30 and shatterproof, which is a must around here. I also bought their felt sparkly tree skirt for like $2. This set the color scheme for the rest of the decor.
After doing my Halloween haunted village I knew I had to do a Christmas one too. I copied The 36th Avenue's village for this one too. Here's her Christmas Village tutorial.


On the Mantle:


And for the part I was looked the most forward to doing:

I also put up my Merry Christmas print I made:

11.28.2012
Merry Printable
I've been busily decorating for Christmas and thought I'd share a printable I made for my vintage decor:


10.01.2012
Ghost Photography

Yesterday we took these fun "ghost" pictures of the kids. I think they turned out great!
We went to visit a friend in Malad and stopped at this old school house. It was literally two rooms! I really wanted to steal the old doors ;) Anyway I got the idea from Candice Stringham.


9.30.2012
Our Creepy Decor - Inside
The minute my husband hung my faux mantle I wanted to decorate for Halloween!
 The black cat was from Michael's, I grabbed it after I saw the cute bottle brush cats at Pottery Barn.
 These were left over from the Harry Potter birthday party.

I fell in love with the creepy black birds on Anythingology.

 Spray painted pumpkins with metallic silver.

And for my favorite part - the Haunted Village. My kids love the creepy village at Michael's but I would never spend that kind of money on holiday decor, at least not Halloween. This alternative saved the day.

 The idea came from The 36th Avenue blog. I bought a Dollar Tree Christmas village, people and trees and spray painted them black. I added black glitter paint to the roofs. I also cut off the bats of some bat rings, painted them with black glitter and glued them to the houses. Super creepy! I love it.
*She also has a solution from a Christmas village I wanted to make too....yes I'm already working on Christmas decor.


*She also has a solution from a Christmas village I wanted to make too....yes I'm already working on Christmas decor.
Our Creepy Decor- Outside
Outside:

This is a work in progress. I'm hoping to add a lot more pumpkins after our trip to the pumpkin patch.


9.24.2012
Harry Potter Party - Halloween Crafts

First up at the party was Olivander's Wand Shop:


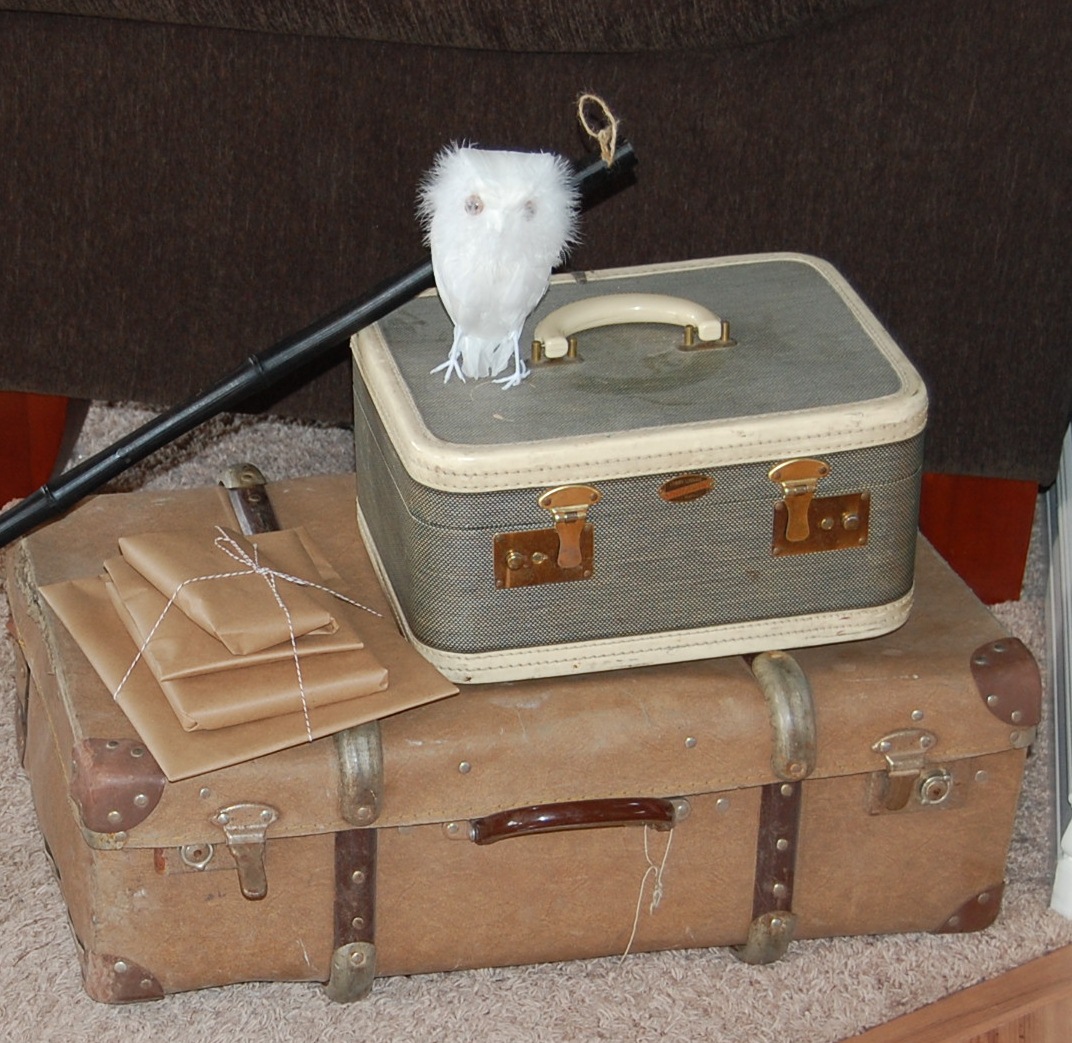

We then head through the 9 3/4 Platform. This was a craft fail. I used that corrugated brick banner stuff people use for faux fireplace chimneys at Christmas. It just curled up on me, the kids didn't notice. You can kind of see it in the picture above. I printed the platform sign from here.

Downstairs we did the sorting. Luckily my neighbor had a sorting hat for us to borrow! Super cool right? I just printed off house badges and put them in a paper bag to pull out lotto style. We then pinned the badge onto the boys' shirts. Next up was Defense Against the Dark Arts, where the boys used their spell books to learn how to use their wands.


After potions the boys played capture the snitch. We hid a gold Christmas ornament before the party and had the boys run around on their broomsticks looking for it. Then it was time for Honeydukes:


Overall I think it was a success. The kids all had fun and my son was super happy.
Here's the candy labels if you want them.


Subscribe to:
Posts (Atom)
